Creating your first Site
Overview
Sites are where you add various different buildings, floors and drawings. Sites segregate your jobs for resource planning & reporting, everything you do for customers on Fire Survey Pro will be done through a site.
How sites are used
When you win a new surveying or full fire stopping job you will enter the site within the system, you specify some site information and proceed. Sites house all the pins/penetrations for that particular job, separated out by buildings, floors and drawings. This gives you, a more granular overview of a site and what has been surveyed or completed as time passes. This is also where the site report is generated from, all data within a site can be displayed within a report, depending on the report configuration. For more details on Site Reports, click here.
Adding a site

To add a site, follow these steps:
- Navigate to the Sites page displayed in the sidebar.
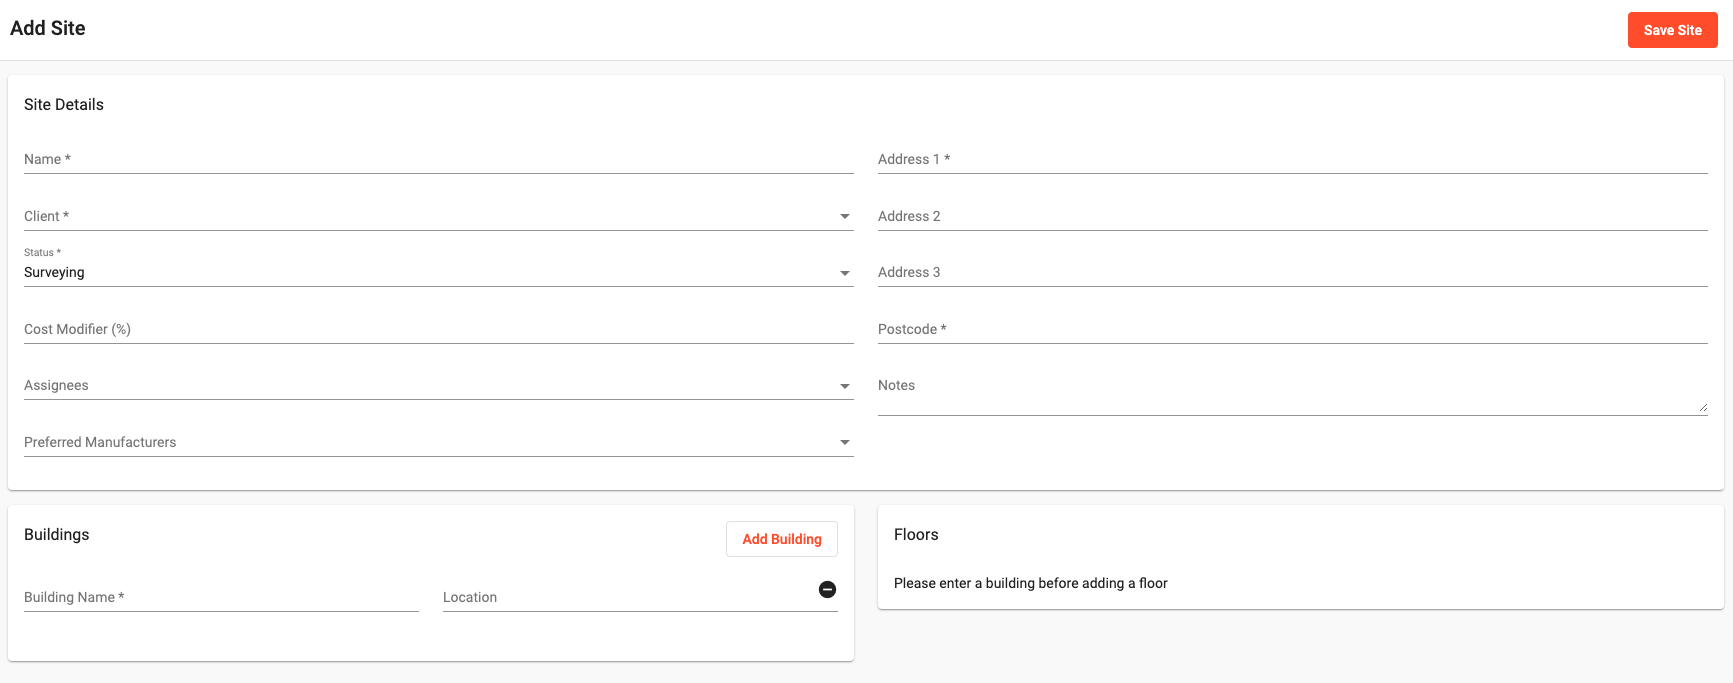
- Click the Add Site button.
- In the form, enter the site details.
- If you would like to increase your costs for this particular site you can do this by using the Cost Modifier field. Enter a percentage you would like to increase all prices for the site by.
- Ensure you select at least one assignee, this field determines if the site appears on the mobile app for your operatives.
- Although selecting preferred manufacturers isn't essential, you can do this to prioritise what manufacturers products are selected when adding pins.
- In the Buildings section, enter all the buildings you will be working on for that site.
- In the Floors section, enter all the floors for that site along with selecting which building it belongs to.
- Click Save.
Now your site is created, you can upload drawings onto each floor, each floor can have more than one drawing, this is good if your client supplies a floor across multiple drawings. To add drawings to your floors follow the following steps per floor:

- Navigate to the chosen Floor within your site.
- This is done by clicking View on the building the floor belongs to.
- Then you can click View on the floor you have chosen.
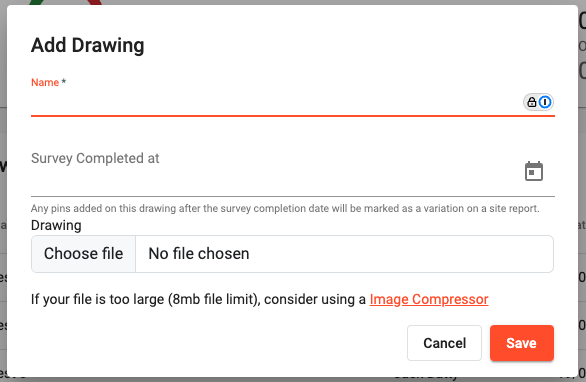
- Click the Create Drawing button
- Give the drawing a relevant name and select the file you would like to upload.
- You can leave the survey completed at blank if you are adding this drawing to be surveyed, this field is useful for detecting variations in installations.
Your site is now available for use across all your selected assignees to that site.
Editing sites
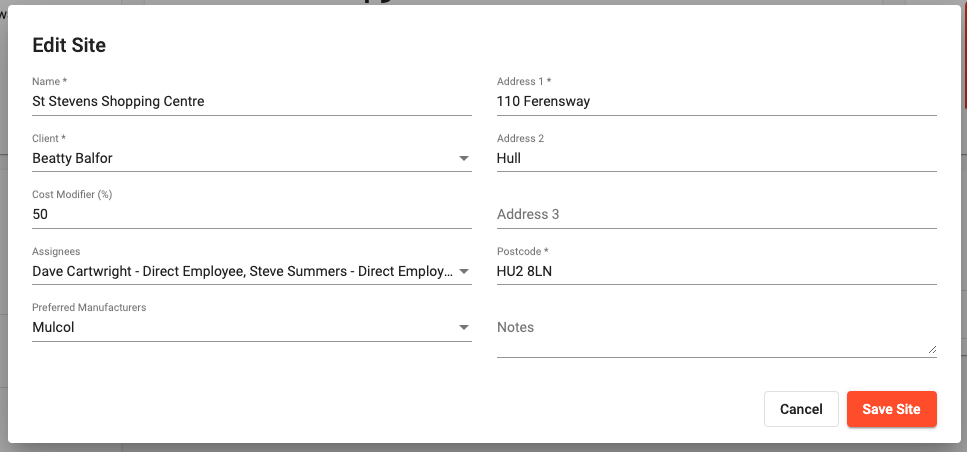
To update a site's details, click into the site and then click Edit Site in the top right corner of the sites screen. Then, make the changes and click Save.

Archiving sites
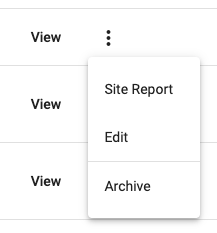
To remove a site, click Archive in the dropdown list. This keeps your sites list clean and relevant.
Please note, that the archive option should only be used for sites that were added by accident or prematurely. Please use the site statuses to change the status of a site to 'Cancelled' etc.

By following these steps, you can manage sites in Fire Survey Pro. This will ensure your surveys and reports have accurate, relevant data.